Are you looking to add a touch of dreamy charm to your nails? Cloud nail art is perfect for this! It is fun, and creative, and can be customized for any style or occasion. In this article, we explored various cloud nail art ideas that provide detailed steps for each design. Plus, we offer tips on how to achieve them yourself. We’ll also include images to inspire your next nail art adventure!
Cloud Nail Art Ideas
1. Classic Blue Sky Nail Art
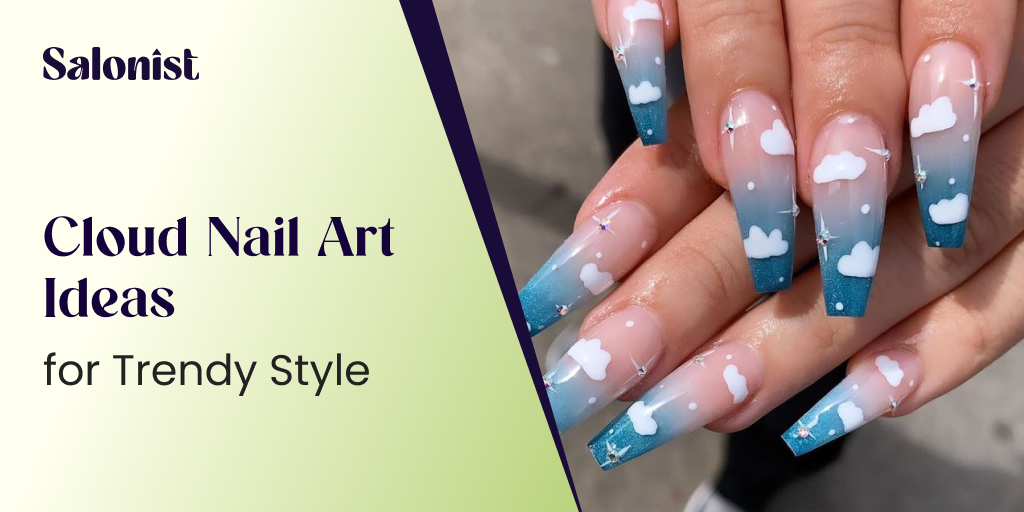
The classic blue sky design evokes a clear, sunny day. Start with a light blue nail polish as your base. Once it dries, use a small dotting tool or a fine brush. Gently dab fluffy white clouds onto your nails. Add some shiny silver glitter to enhance the sunlight. Place it along the edges of the clouds. This style is simple but highly impactful.
2. Sunset Cloud Nail Art
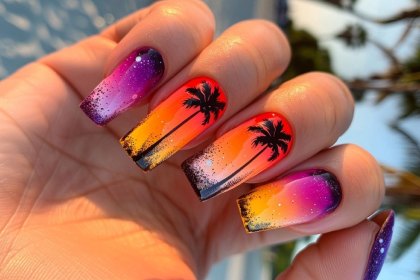
For those who adore vibrant colors, the sunset clouds design will capture your heart. Start by applying a gradient of pink, orange, and purple polishes. This modification is a fading sunset on your nails. Once your base is set, use a small brush. Add dark purple or even black clouds for a dramatic and beautiful contrast. The key to this look is patience and precision during the gradient application. Ensure each color seamlessly blends into the next.
3. Stormy Skies Nail Art
If you’re drawn to more dramatic nail art, the stormy skies design is your go-to. Opt for a dark grey or navy blue base to set the moody tone. With a fine brush, swirl tumultuous white and light grey clouds across your nails. For a realistic touch, add a few strokes of metallic silver. This simulates lightning. This bold style is perfect for making a statement.
4. Pastel Dream Nail Art
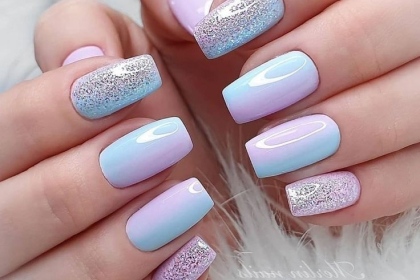
The pastel dream design is perfect for those who like a gentle, playful look. Choose soft colors like mint green, lavender, and baby pink. Apply a different color to each nail as the base. Once dry, use white polish to create soft, fluffy clouds. This gentle, cheerful look is especially suitable for spring and summer days. Also, increase the appearance of your fingernails.
5. Night Sky Cloud Nail Art
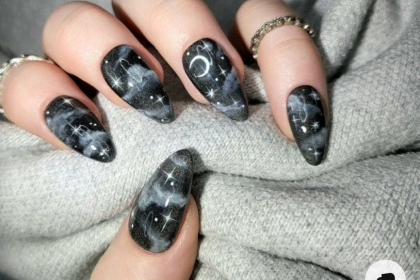
For a magical touch, the night sky design captures the enchanting essence of a starlit evening. Start with a deep blue or black base. Then flick small white dots across your nails to represent stars. Add larger, defined white clouds intermittently for depth. A glitter top coat will give your starry night an extra sparkle. It makes your nails a captivating feature of your evening look.
6. Rainbow Cloud Nail Art
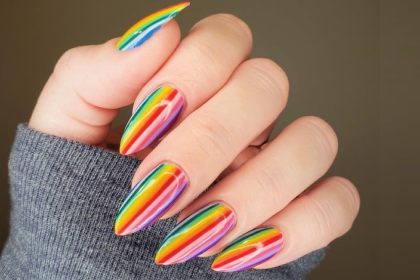
Who doesn’t like a splash of color? The rainbow clouds design starts with a light blue base. Paint small clouds at the tip of each nail. Within each cloud, use a fine brush to add arcs of rainbow colors. This playful, vibrant design is perfect for celebrations. It’s just right to brighten your day with a burst of color.
Nail Care Tips
- Preparation is Key: Always start with clean, and well-shaped nails for the best results. Use a gentle nail polish remover to remove any old polish.
- Base Coat: Protect your nail from stain by applying a base coat. It helps your polish last longer.
- Smooth Application: For smooth polish application, roll the bottle between your hands. Avoid shaking it, which can create air bubbles.
- Thin Layers: Put on your nail polish in thin coats. Make sure each coat is dry before you add another one. This prevents smudging and helps the polish dry faster.
- Seal the Deal: A top coat not only adds a glossy finish but also seals your design. It prevents chips and extends the life of your manicure.
Conclusion
Cloud nail art is an easy way to bring some magic to your look. It makes your nails look fun and dreamy. Whether you like soft pastel colors or bold stormy designs, there’s a style for everyone. Try these ideas and use your nails to show off your art. Adding these designs to your nail looks can make your nails stand out. They can be a highlight at any event, mixing style and fun. Remember, the best nail art comes from having fun with it. Let your imagination go as high as the clouds!
